
The grid method helps you compare proportions by dividing both your reference and drawing surface into the same number of squares. The squares can have different physical sizes, so you can enlarge your drawing without changing the composition.
Materials for Grid Drawing Tools
A reference image, drawing paper, a ruler, a pencil and an eraser. A printer is optional if you draw the grid by hand.
Draw a Still Life with Grid Drawing Tools
These original illustrations show consecutive stages of one example; they are not photographs.
01
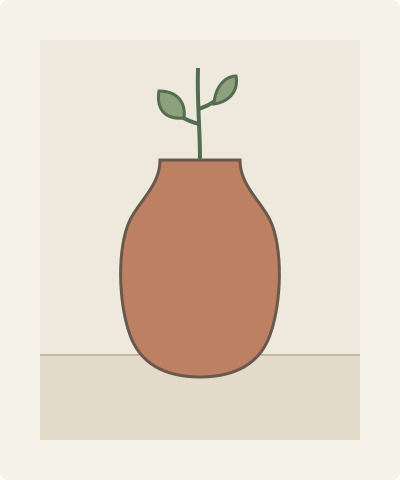
Start with a simple reference. The illustration below is the same still life used throughout this example.
02
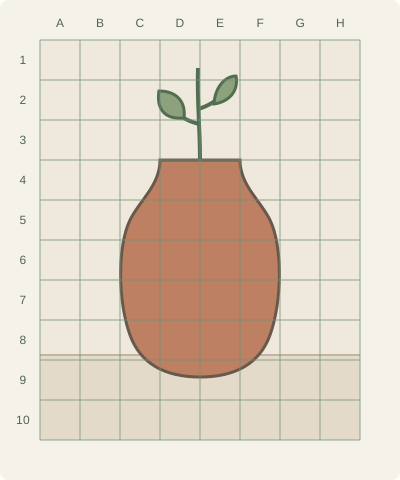
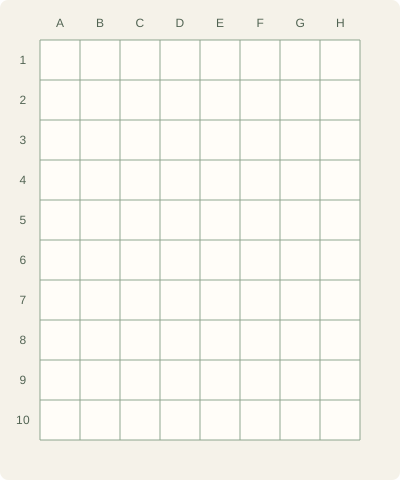
Add an 8-column by 10-row grid to the reference. Prepare a blank grid with the same count and coordinates on your drawing paper.
03
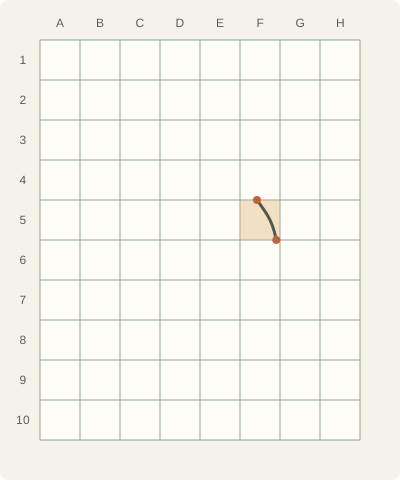
Pick one square. Mark where a contour crosses its edges, then connect the points with a light line.
04
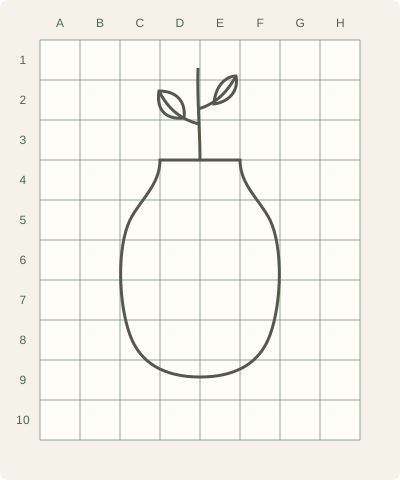
Repeat square by square, checking the position of the vase and leaves. Join the small sections into the main outline.
05
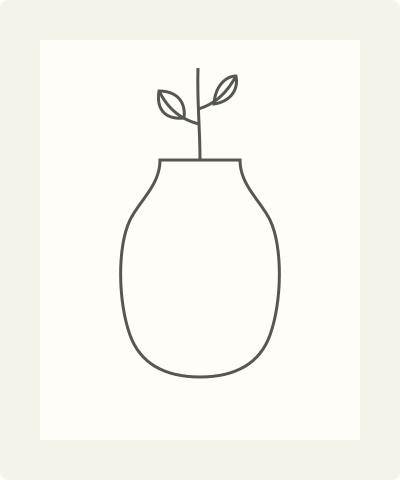
Once the proportions are correct, strengthen the drawing and erase the guide lines.
Enlarge Your Drawing with Grid Drawing Tools
For an 8-column × 10-row grid, 1 cm reference cells make an 8 × 10 cm grid. Using 2 cm cells on the drawing paper makes a 16 × 20 cm grid: twice as wide and twice as tall. Keep the same rows, columns and coordinates.
Common Mistakes with Grid Drawing Tools
Avoid changing the row or column count, stretching the image, or printing with page scaling. Use the same counts on both sheets and print at actual size.
Draw the grid lightly, check the placement of major shapes first, and avoid copying the grid lines as part of the subject. Erase the guides after the drawing is complete.